Creating Brenda Mize Dolls: A Step-by-Step Guide
“The Artistry Behind Handcrafted Porcelain Collectible Dolls”
September, 2025
Materials and Tools
High quality porcelain slip (Seeley)
Specialty paints and brushes
Premium fabrics for costumes
Modacrylic Doll Wigs
Adhesives and finishing materials
Dianna Effner doll molds
Kiln for firing porcelain
Porcelain cleaning tools
Step by Step Process
Step 1: Preparing the Porcelain Slip and Molding
1. Preparing Porcelain Slip: The process begins with preparing the porcelain slip, a liquid mixture of porcelain and water. This slip is mixed to achieve the right consistency for pouring into the molds.
2. Pouring Doll Molds: The prepared porcelain slip is then poured into the plaster of Paris doll molds and let sit to a specified period of time.
3. Draining Doll Molds: After the slip has been poured, the molds are drained to remove excess slip, leaving a thin shell that will form the doll's body.
4. Letting Them Sit Overnight: The molds are left to sit overnight, allowing the porcelain to set and harden to a greenware state so they can easily be removed from the doll molds.
Step 2: Removal from Mold and Cleaning
1. Removing from Mold: The next day, the hardened porcelain pieces are carefully removed from the molds and the appropriate holes are created using a custom tool in both the torsos and the heads.
2. Cleaning and Removing Seams: Once out of the molds, each piece is carefully cleaned, and any seams or imperfections are smoothed out as well as joint holes being enlarged and cleaned out with a special tool.(Pieces must be left at this point to dry in preparation for kiln loading.)
Step 3: Firing the Porcelain
1. Firing in the Kiln: The cleaned porcelain pieces are fired in a special porcelain kiln that needs to reach a temperature of 2200 degrees Fahrenheit (Cone 6). This step ensures that the porcelain achieves the desired hardness and durability.
2. Cooling: Pieces are left in the kiln overnight and when a kiln temperature of 100 degrees or less is reached, the pieces can then be removed from the kiln to cool further.
Step 4: Sanding and Preparing Joints
1. Sanding Doll Parts: After firing, each doll part is carefully sanded to achieve a smooth finish. This step is crucial for the final look and feel of the doll.
2. Stuffing Arms and Legs with Fiber Fill: This step is done to ensure that the hardening agent has something to adhere to.
3. Filling Joints with Hardening Agent: Joints (legs and arms) are filled with a hardening agent to ensure durability and proper articulation.
4. Stringing Hooks: Hooks are then inserted into both arms and legs to facilitate the assembly of the doll's movable parts and left overnight to dry and harden.
Step 5: Painting and Blushing
1. Painting Fingernails and Toenails: Each doll's fingernails and toenail tips are painted white to add a touch of realism.
2. Sealing: The painted nails are sealed to preserve the color and finish.
3. Detailing: Both arms and leg details are enhanced with acrylic paint detail.
4. Blushing Torso, Arms, and Legs: A subtle blush is applied to the torso, arms, and legs to enhance the lifelike appearance of the doll.
Step 6: Painting Facial Features
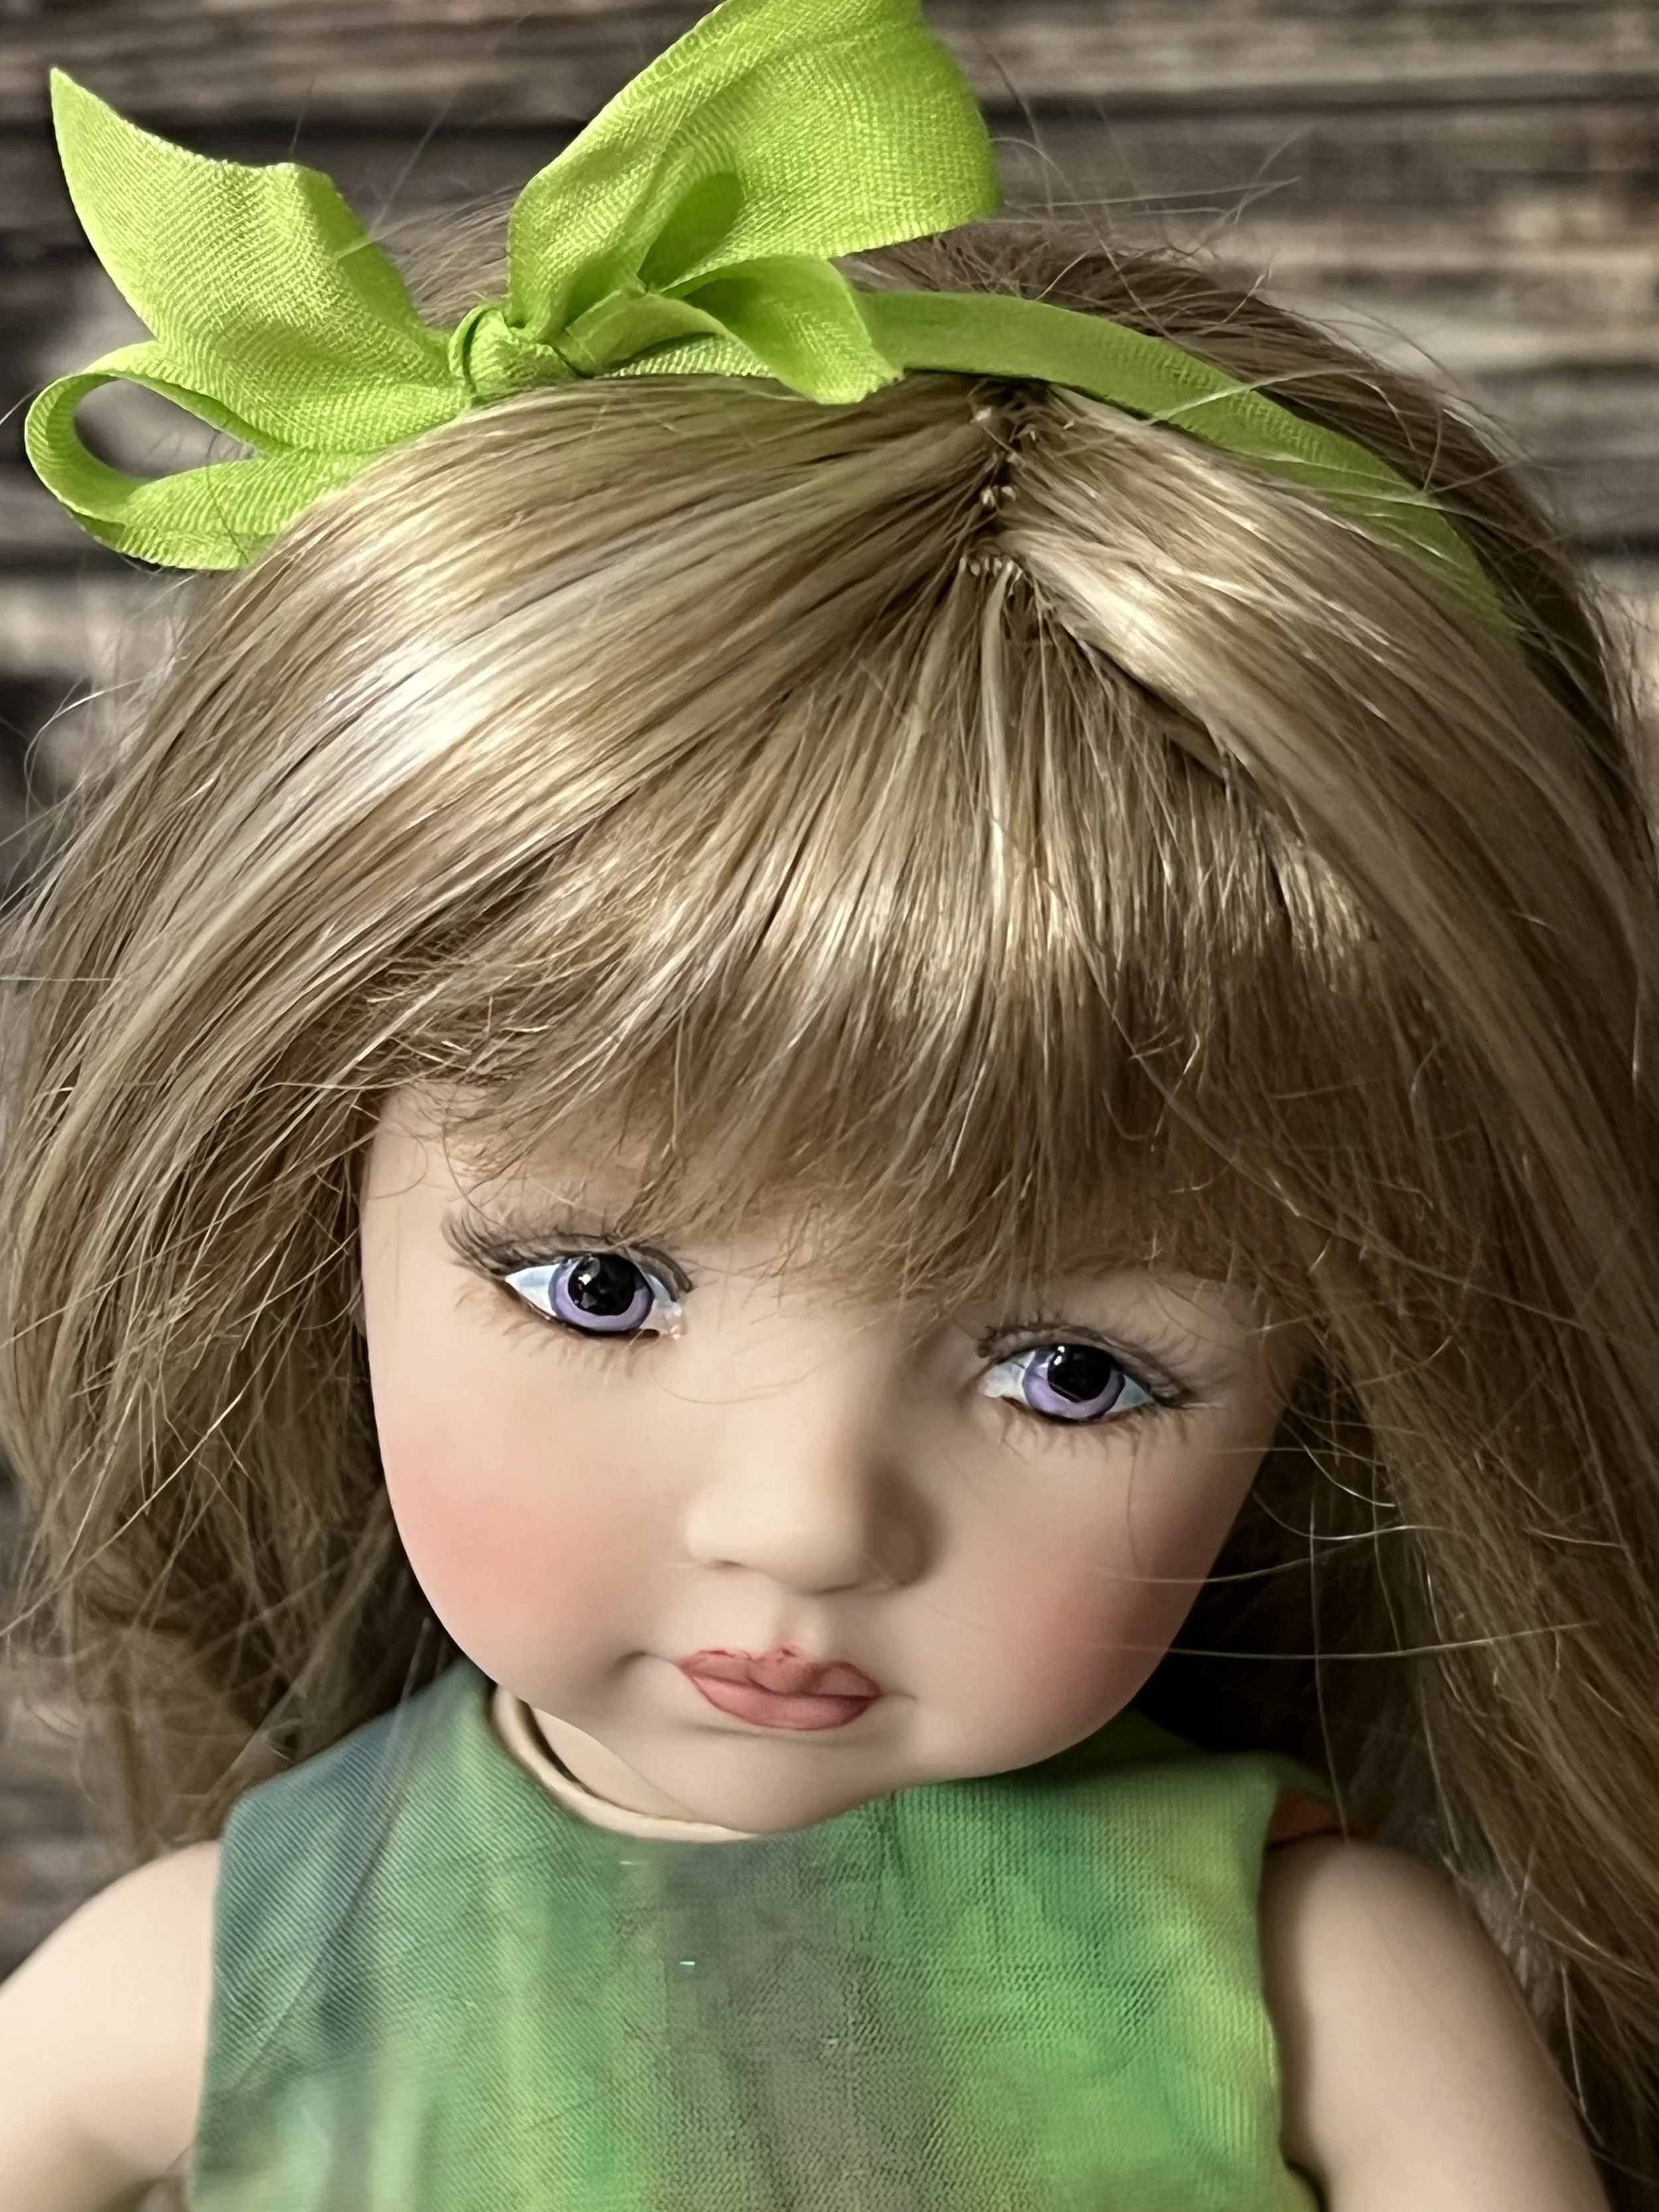
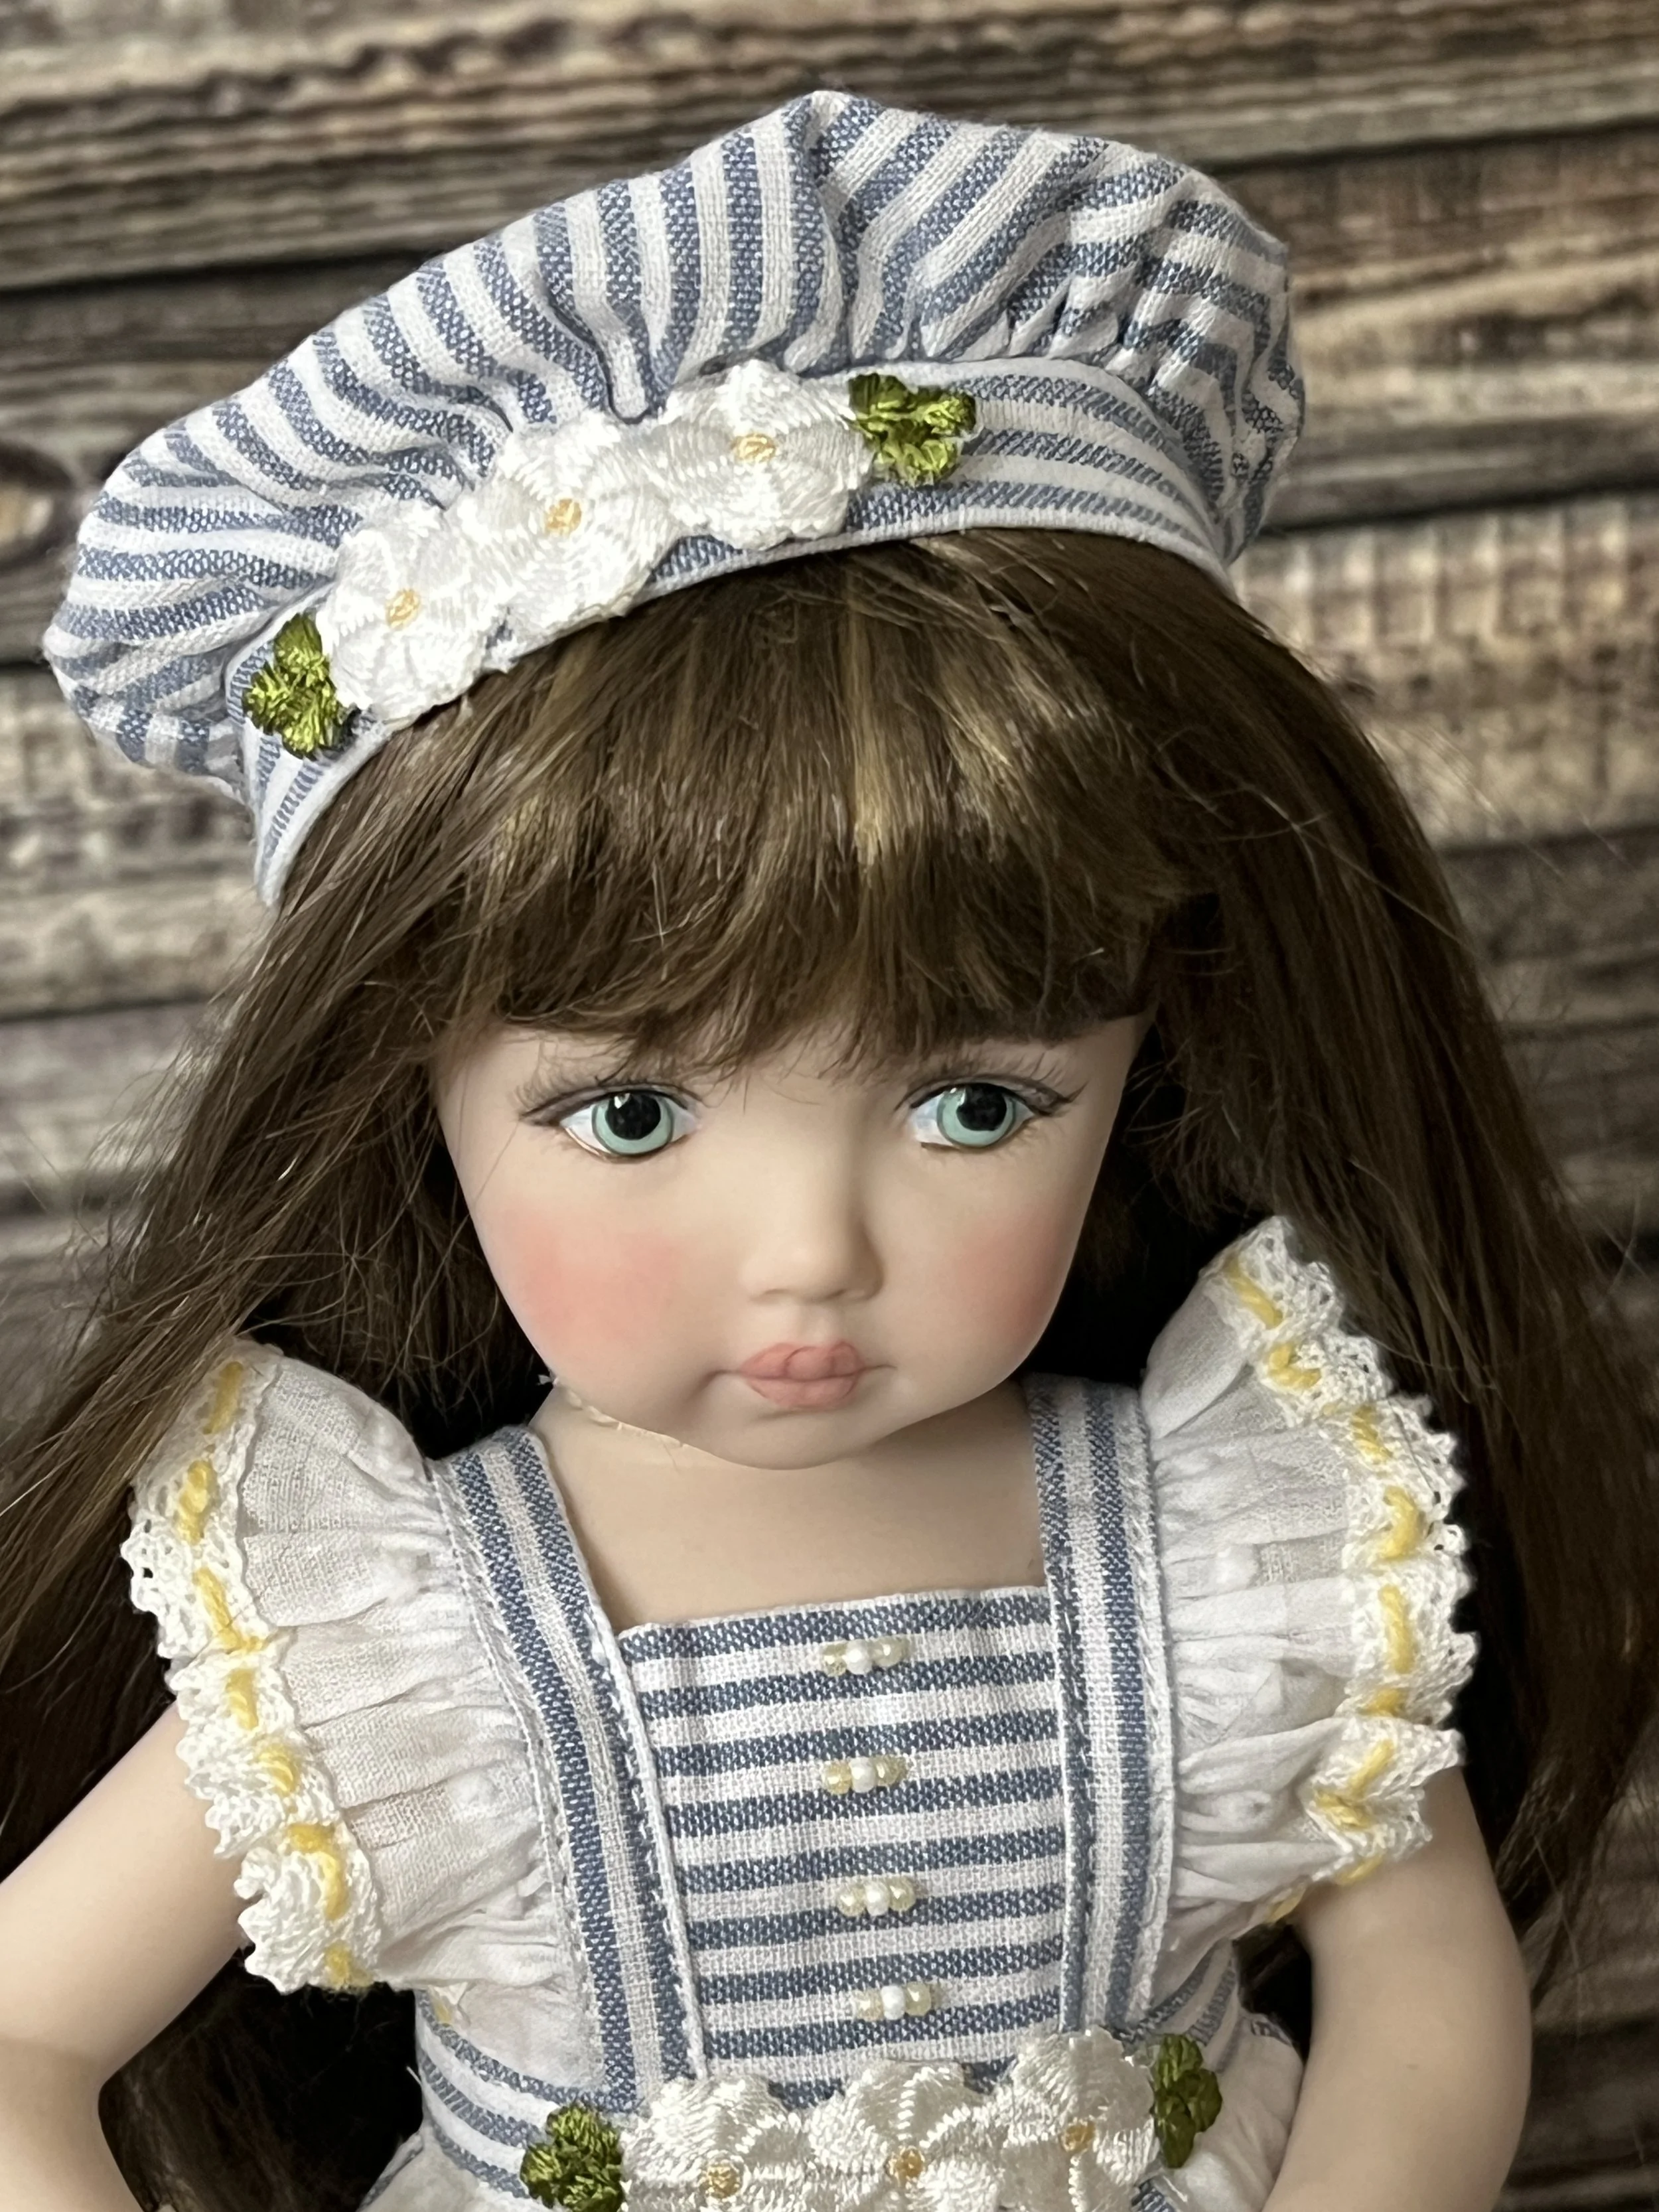
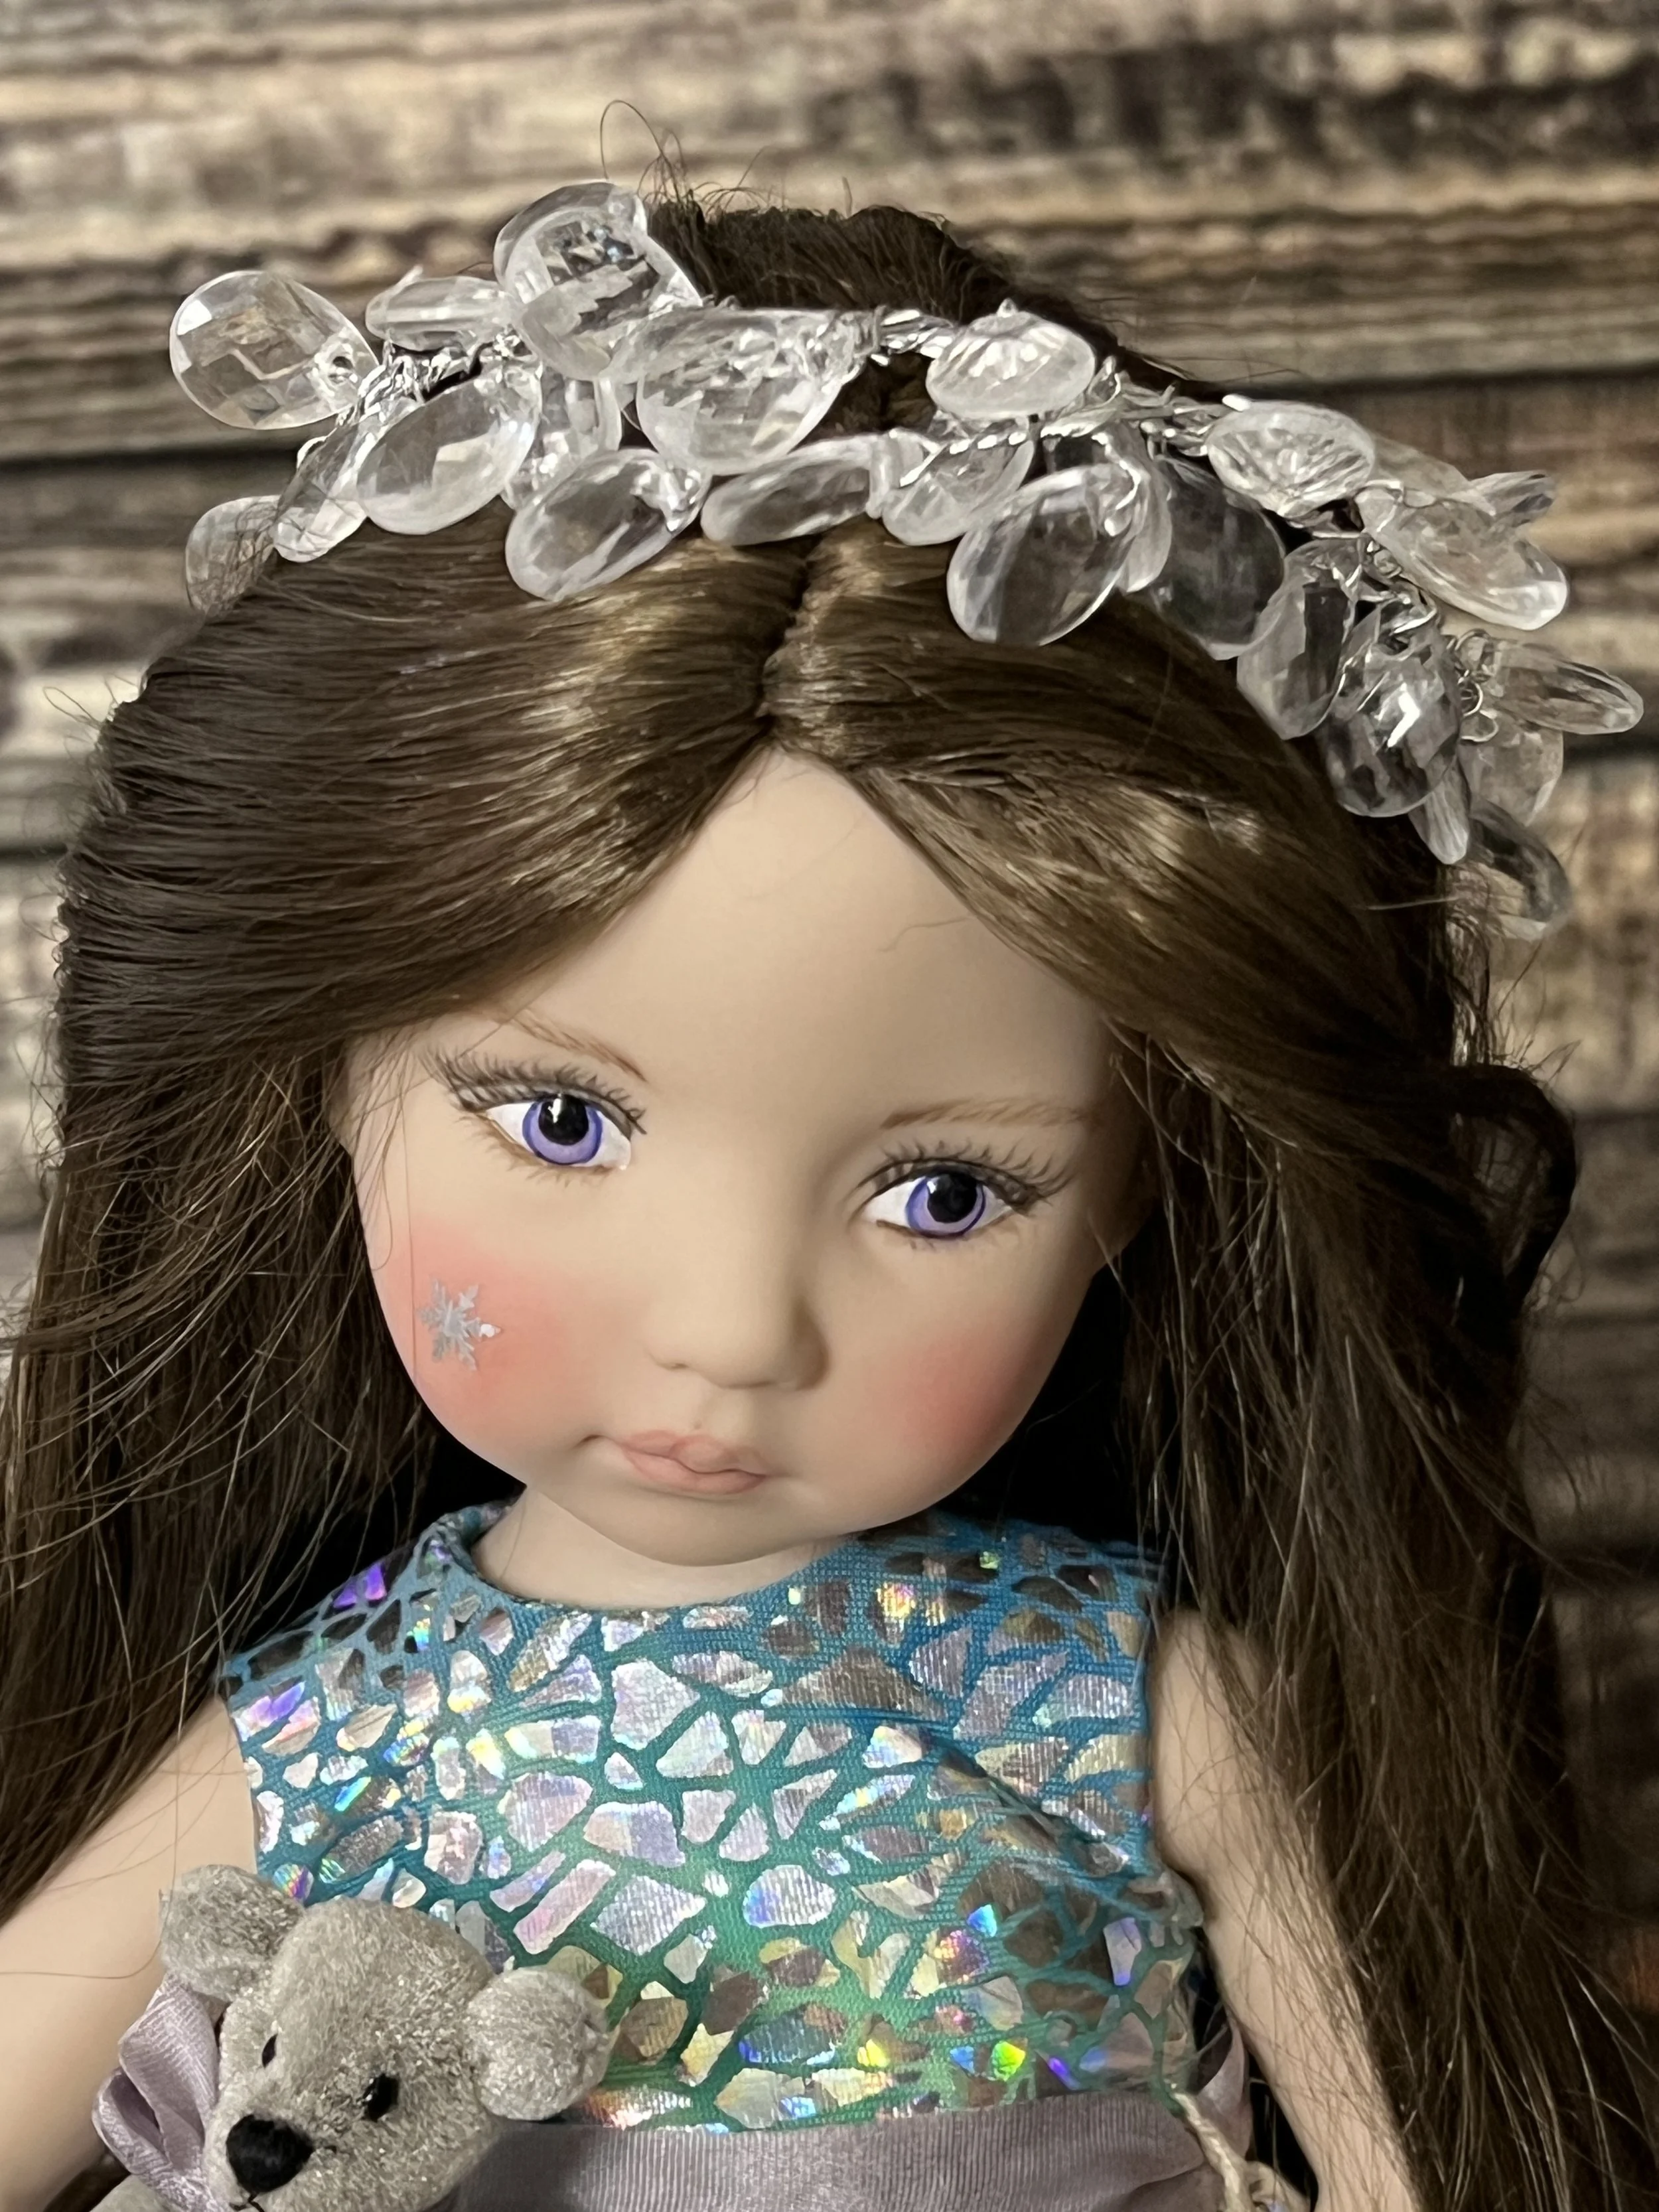
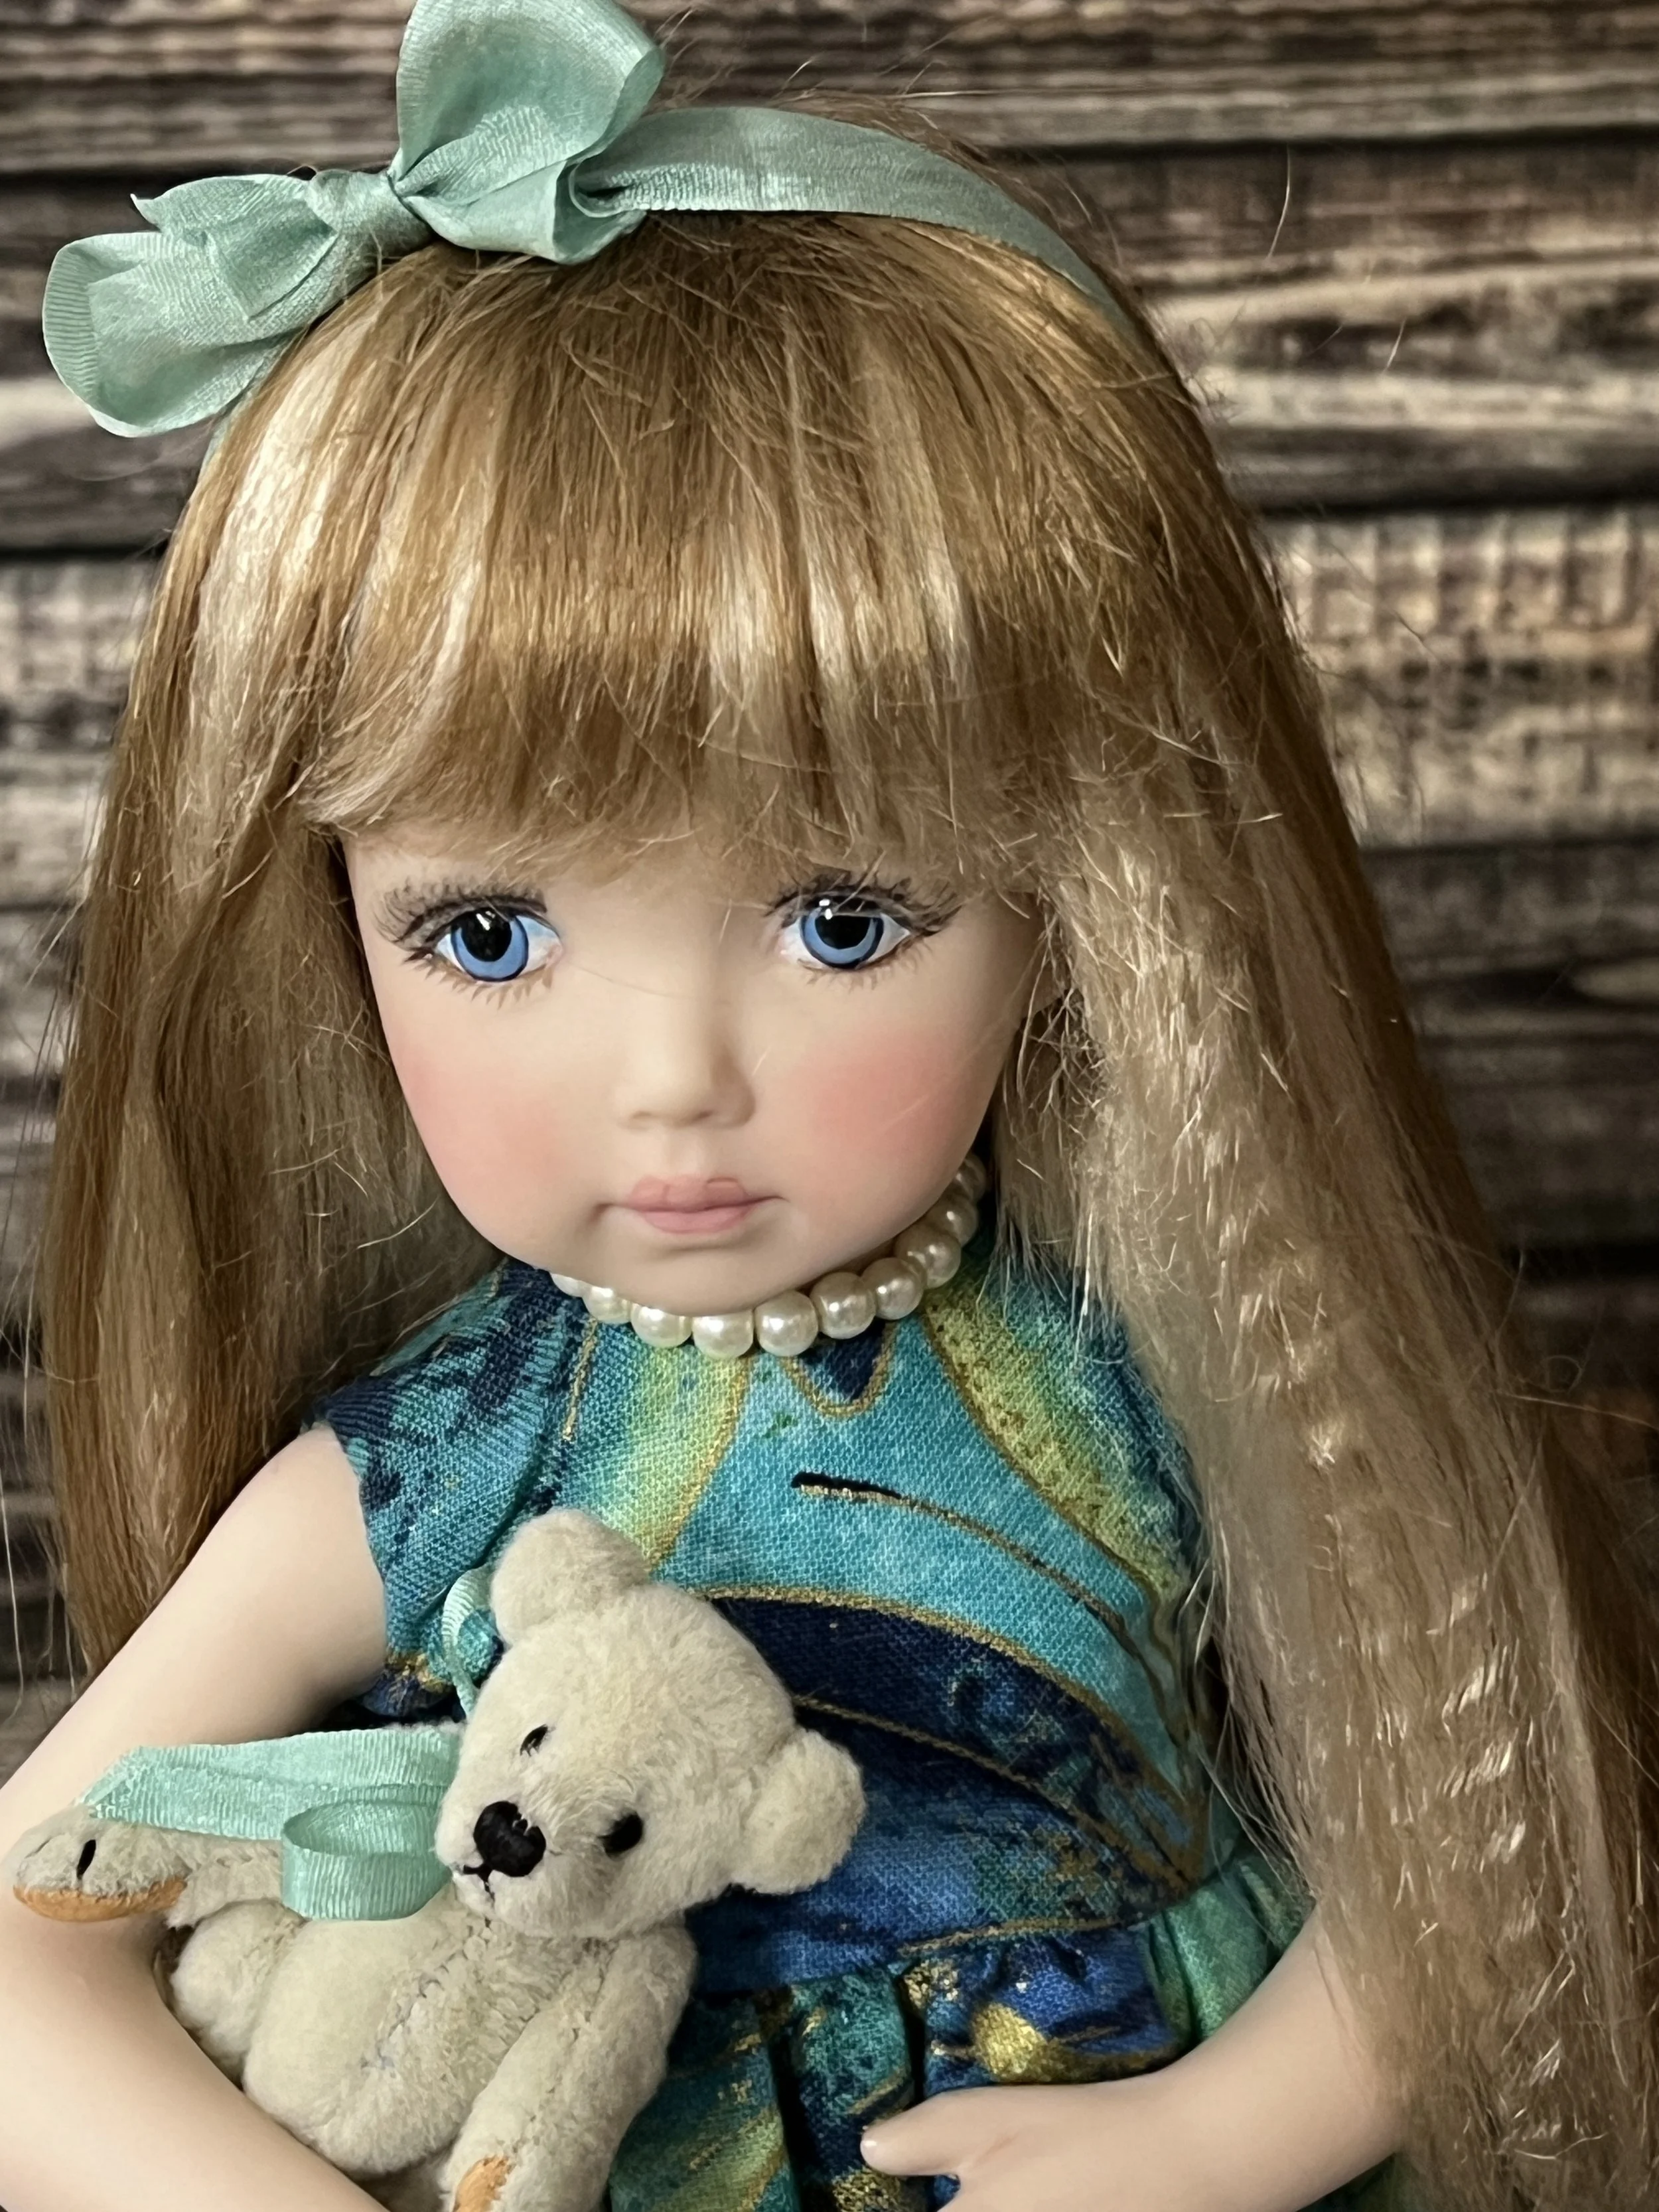
1. Painting Facial Features: Painting the doll's facial features, including eyes, eyelashes, eyebrows, and mouth, is a delicate and time-consuming process that takes several hours to complete. This step brings each doll to life with a unique personality.
2. Sealing: The heads are sealed multiple times with various sealants to set the paint, ensure longevity and give facial features a more realistic appearance.
Step 7: Assembling the Doll
1. Assembling with Elastic String Cord: Each doll is assembled using a high-quality elastic string cord. First, the head (using a special hook inserted through the head) and the legs are strung through the torso, and then the arms are attached separately.
2. Attaching Pate to Doll Head: A pate is glued to the head of the doll and left to dry.
Step 8: Dressing the Doll
1. Attaching the Wig: Each doll then has a modacrylic (or mohair) wig attached with a special glue, styled to complement the doll's personality.
2. Dressing the Doll: Each doll is dressed in either one of my handmade costumes or in a dress from Effner Boneka in Germany. The outfit is completed with doll panties, tights or socks, and shoes. A doll stand is attached to the doll at this point.
Final Touches and Packaging
1. Final Touches: Final adjustments and touch-ups are made and a miniature teddy bear, tiny porcelain doll or basket with flowers is decided upon as an accessory for the doll.
2. Packaging: Each doll is packaged in a custom box using an ample amount of bubble wrap for cushioning as well as an exterior box, ready to be delivered to her new home.